
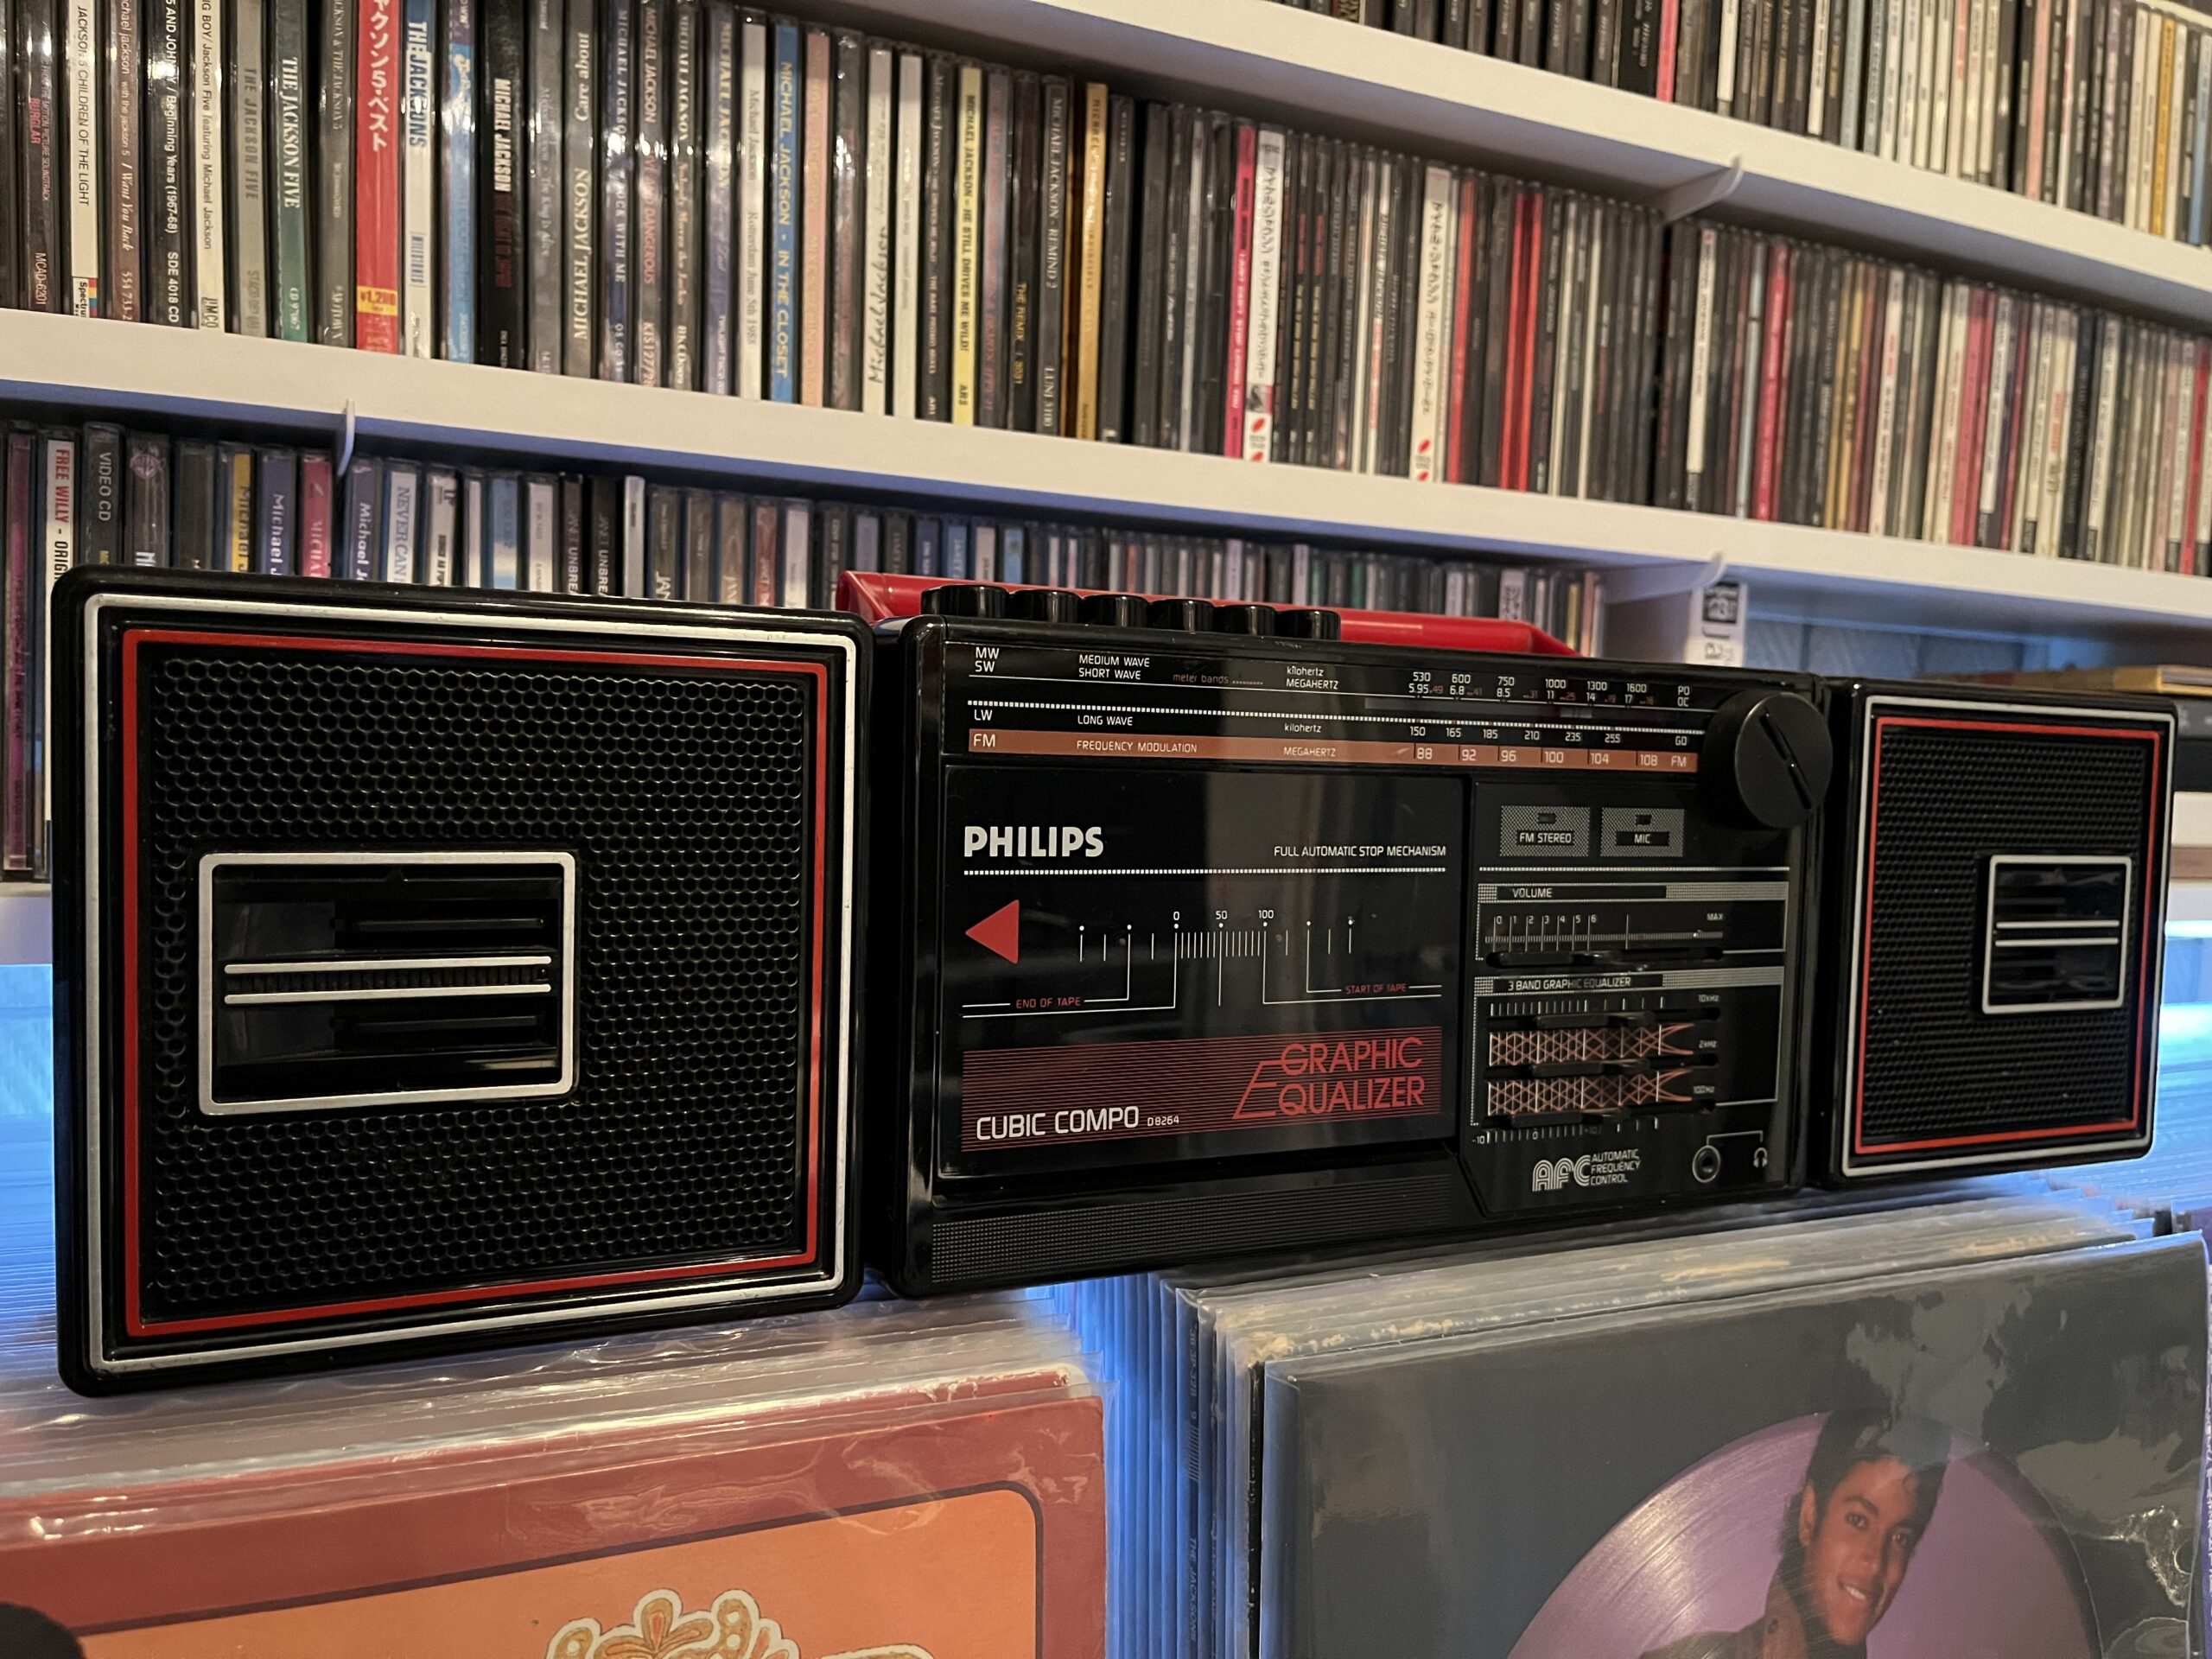
As a teenager, my Philips Cubic Compo D8264 was my go-to device for music. I used it to record the Top 40 every week, sitting by the radio with a blank cassette, waiting for my favorite songs to come on. Those afternoons spent listening and recording from the radio are some of my fondest memories, and I still remember the joy of pressing “record” at just the right moment, wishing the DJ would just shut up.
Recently, I bought the exact same radio from an online marketplace. The exterior was in good condition, and to my delight, the radio still worked! But when I tried to play a cassette, the tape immediately unraveled. So, I decided to open it up and see what was wrong.
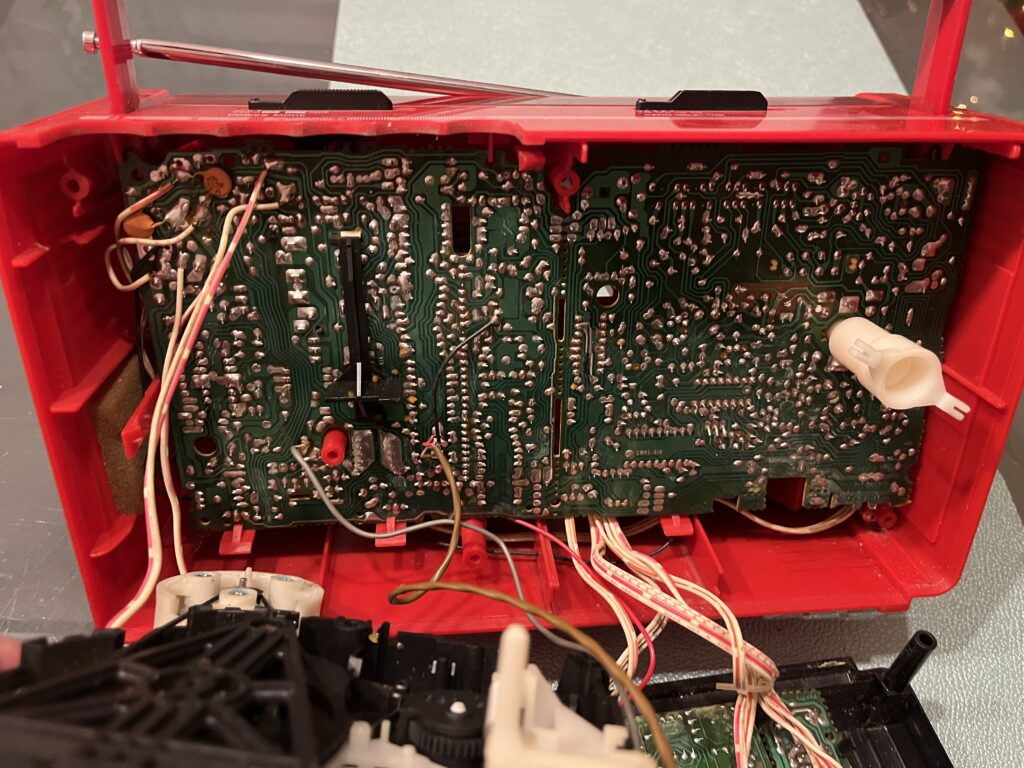
It didn’t take long to find the problem: the inside was covered with chunks of what appeared to be a broken gear. Upon further inspection, I discovered that three of the gears inside the cassette mechanism had completely disintegrated into a soft, gooey substance. Replacement parts for these old machines are nearly impossible to find (and when they are, the replicas come with a hefty price tag). So, I decided to leave the tape deck for what it was and go for a nice upgrade.
While browsing YouTube, I came across a video where someone had cleverly integrated an Amazon Echo Flex into an old 70s radio. This sparked an idea: why not do the same with my Philips D8264?
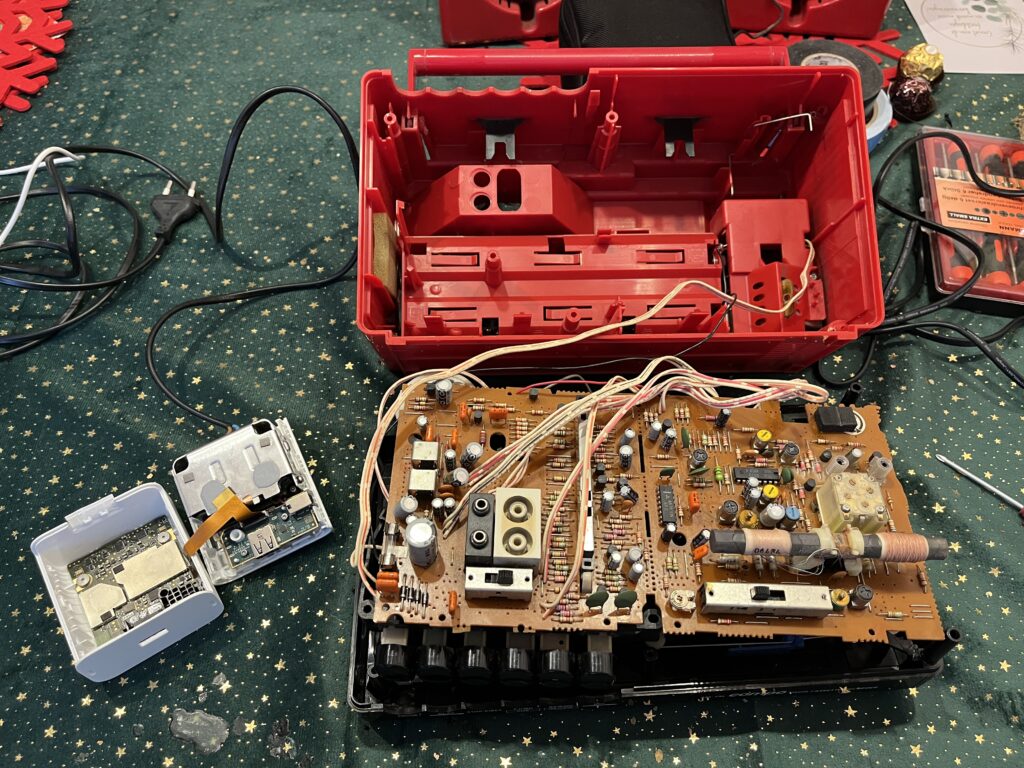
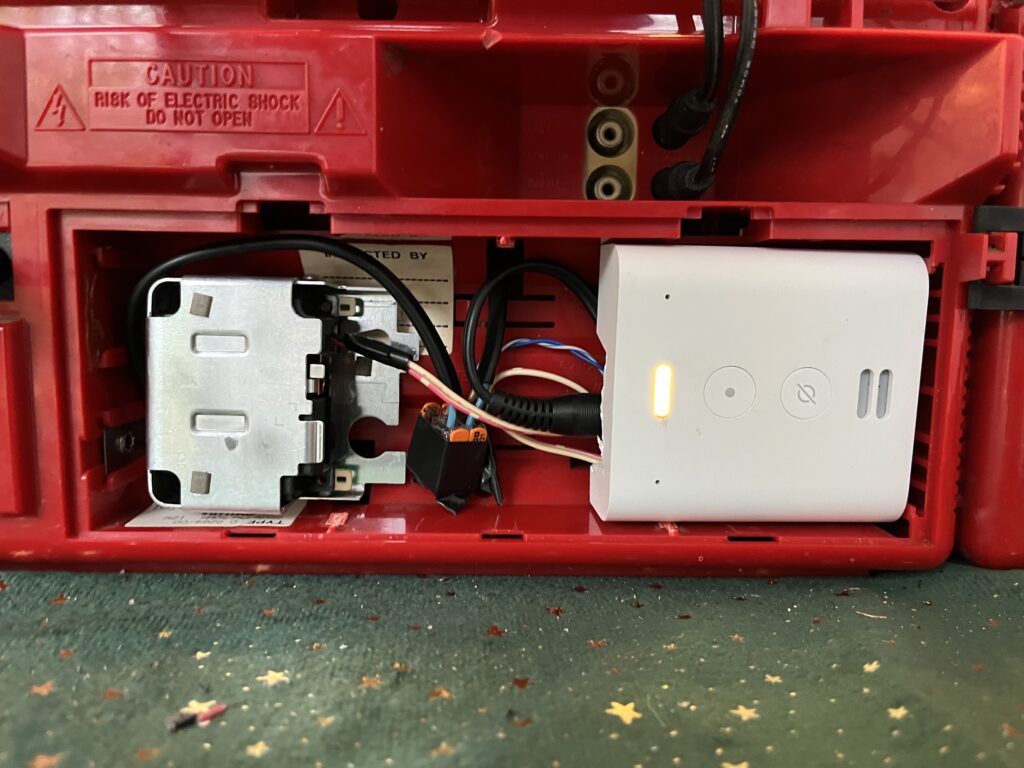
I sourced an Echo Flex, tore it apart, and began planning how to integrate it into the radio. The most logical spot for the Echo Flex components was the battery compartment, where there was plenty of space. I tapped the power for the Alexa from the radio’s existing power supply, which was a simple and neat solution.
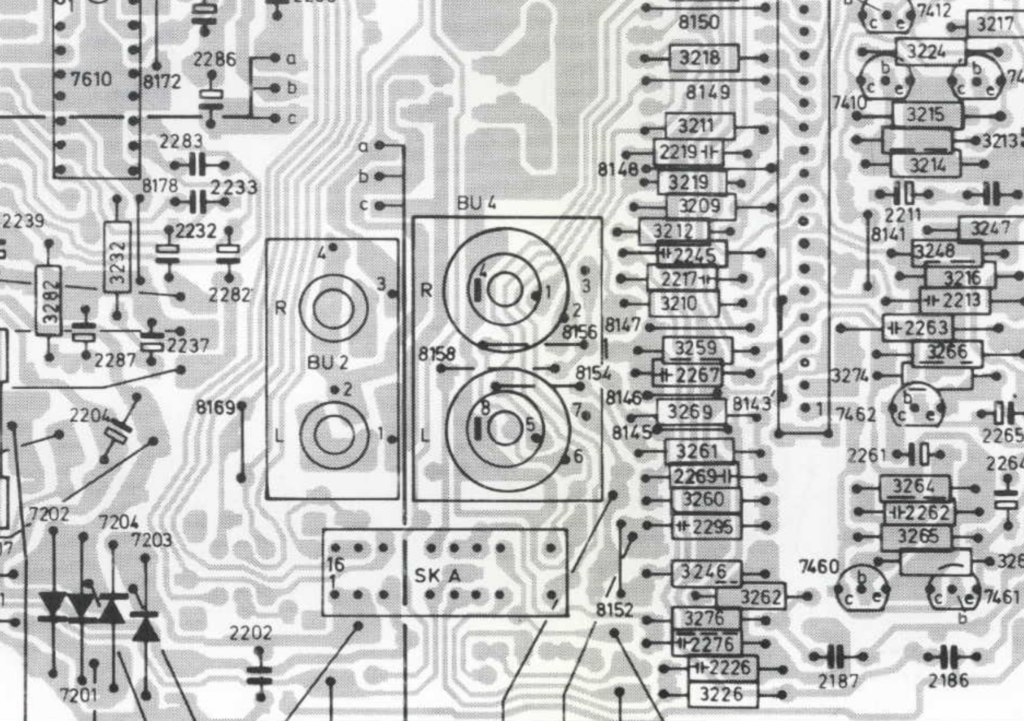
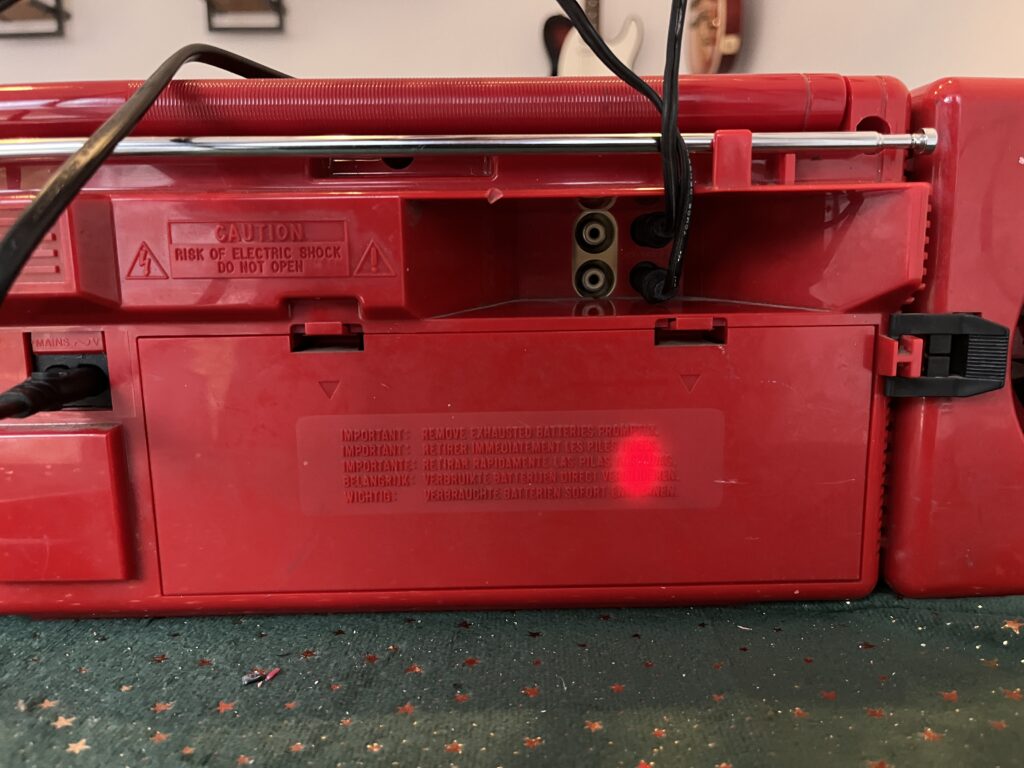
Now, here’s the key point: I didn’t want to have any wires coming out of the back of the radio. One of the things I loved about the Philips D8264 was its original, black and red vintage look. I wanted to keep the outside completely authentic, without any modern cables or visible modifications. That meant I needed to connect the Alexa’s audio output directly to the radio’s internal circuit board. After searching the web for a helpful schematic, I found the right spots to solder the wires.
At first I made a small mistake, I had connected the wires after the equalizer and volume control, meaning I could hear sound from the speaker, but I couldn’t adjust the volume or use the equalizer. After some trial and error, I moved the wires before the equalizer and volume control, and voila! Now, the sound came through with full control.
Another issue arose because the radio’s tape input required pressing the record button to get audio. I took a good look at the cassette mechanism to see if I could find a solution. I was afraid this would be hard to find, but it turned out very easy. I just looked at what the record button did when pressed and saw it connected two pins. So bridging those would be all I had to do.
After tidying up the Alexa components and securing the power in the battery compartment, the project was complete. I now had a modern, voice-controlled vintage radio. A functional blend of the old and new—proof that sometimes, a little creativity can breathe new life into old gadgets.