
Ever since I installed a CF card in my Amiga 500, I naturally wanted to load it up with software and games. This quickly raised the question: how do I transfer software from my PC to my Amiga? Using my Gotek drive, I can do this quite easily, but since the Gotek is a modern replacement for the disk drive, I face the problem that a floppy disk only holds 880KB. Many Amiga games are slightly larger and won’t fit on a single disk. Sometimes I can work around this by unpacking the downloaded file (an .lha file) on my PC using 7-zip, and then splitting it into 880KB chunks and transferring them via the Gotek (in ADF format) to the Amiga. However, this is a cumbersome and time-consuming process.
I spent several evenings tinkering with a null-modem serial cable I found in a box of old PC cables and trying to use Amiga Explorer software, but without success. I downloaded the software from the Amiga Forever website by Cloanto (€10) and installed it on both my PC and Amiga. I carefully configured all the settings, including baud rate, handshake, stop bits and COM port, but the two systems still couldn’t connect.
On the Amiga Forever website, I found a clear diagram showing how the pins in a null-modem cable should be wired. So, I decided to open my cable to check if it matched the diagram. It didn’t. My cable only had 5 wires, whereas the diagram indicated it should have 7, with 2 pins bridged. While frustrating, I was actually relieved—the cable’s incorrect wiring was likely the reason the computers couldn’t connect.
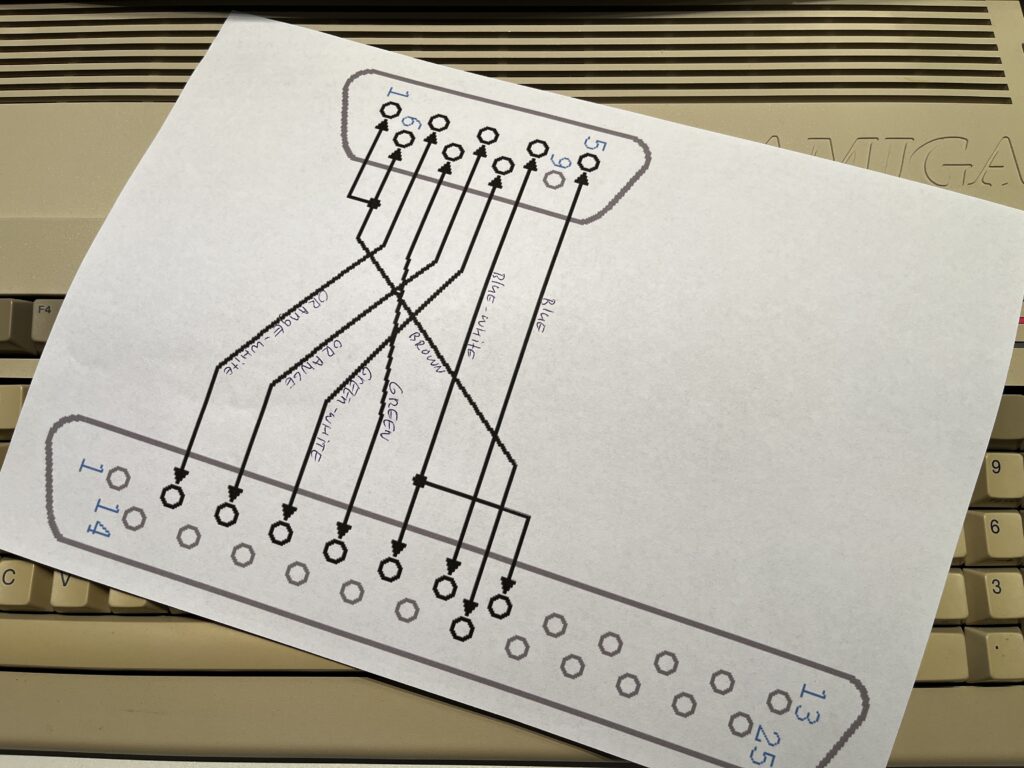
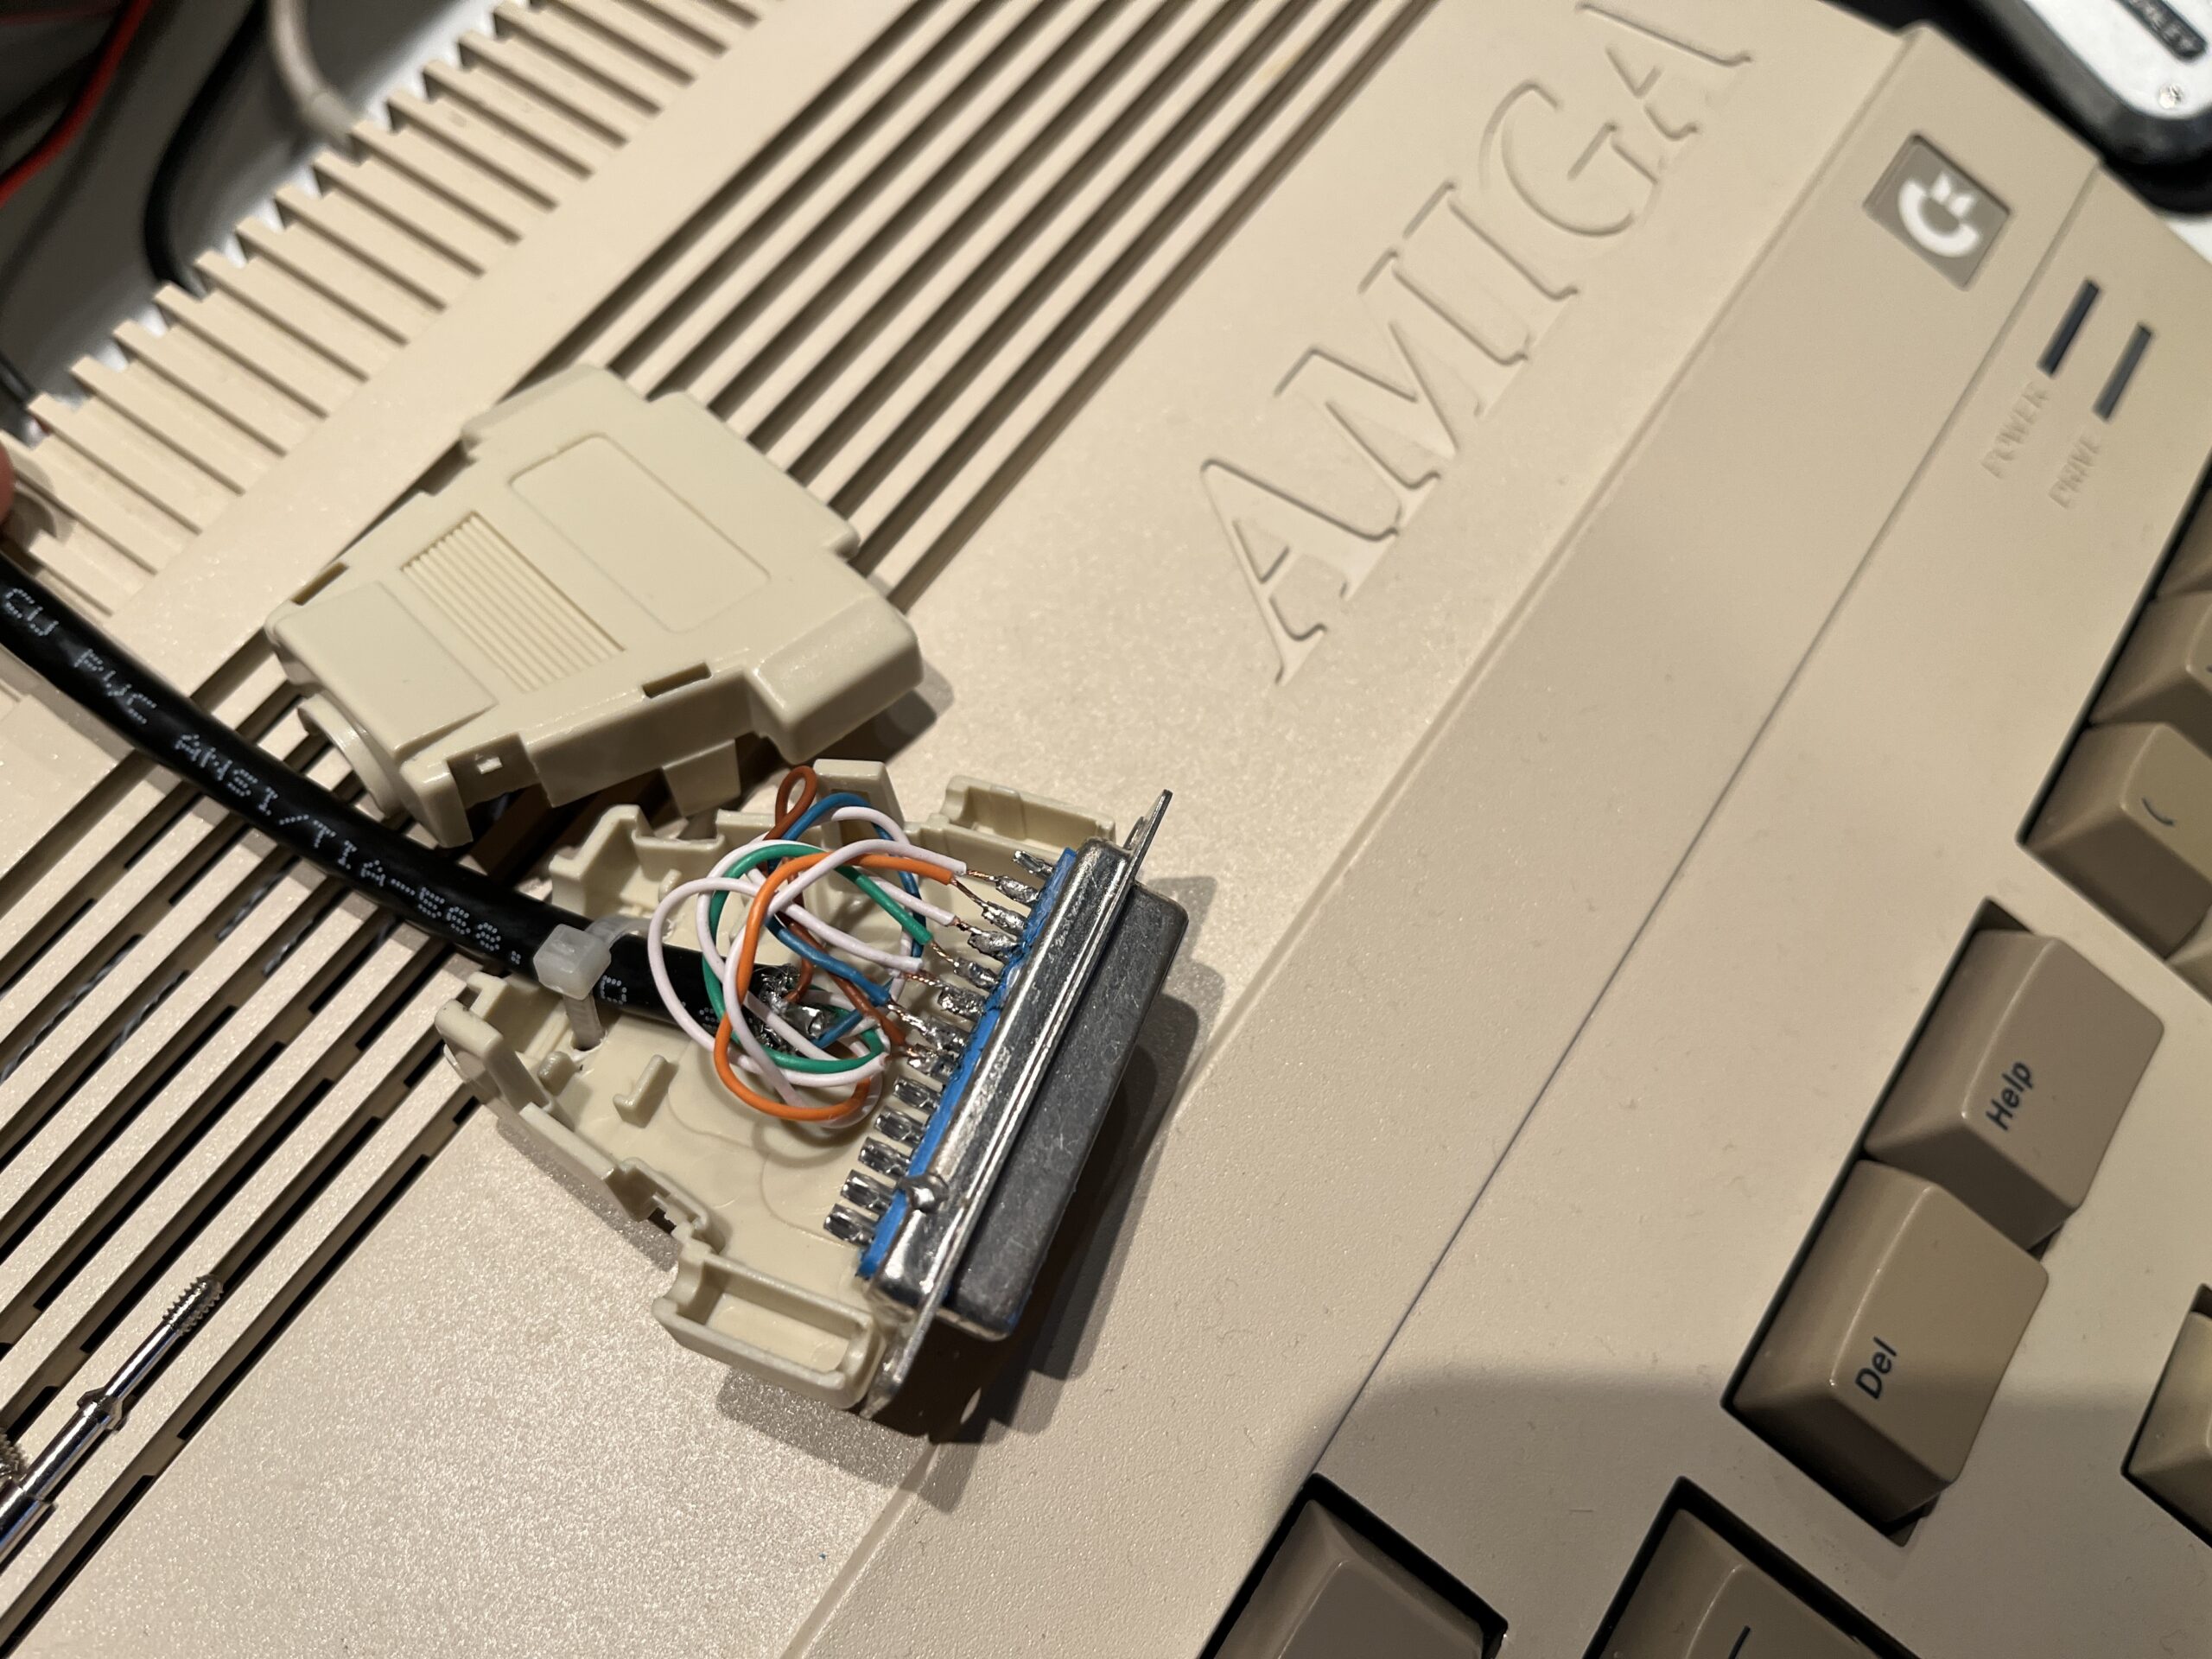
After some Googling and watching YouTube videos, I found the correct null-modem cable on Amazon for just €10. However, that was in the US. Here in Europe, the same cable would have cost €37 plus €10 for shipping. So, I decided to take matters into my own hands and make my own cable using a soldering iron. I figured I needed 7 wires, so I used a network cable, which has 8 wires, and cut off one. I printed out the connector diagram and wrote down the wire colors for clarity.
After about half an hour of soldering (I’m not the fastest at it), all the wires were connected, including the bridges on both ends. I tested all the connections with a multimeter to ensure I had done it correctly.

Feeling confident, I connected the cable to both the Amiga (25 pin connector) and the PC (9 pin connector), and to my delight, the Amiga Explorer software worked perfectly right away.
Finding the best baud rate setting took some trial and error. If set too low, the connection is unnecessarily slow; if set too high, it doesn’t work at all. For my fairly standard Amiga 500 with a 68000 processor, 38400 baud gave the best result. Don’t expect high-speed data transfers, though. It’s anything but fast. But you don’t use an Amiga 500 for speed—it’s all about getting things to work, even if it means dealing with the kind of speeds we had in the 80s. Long live nostalgia!
Transferring 1MB of data takes a little over 5 minutes. Sure, that’s a long time by todays standards, but now I don’t have to unscrew my Amiga, risk breaking anything and remove the CF card and put it in my PC every time I want to transfer something larger than 880KB. For anything smaller, I’ll always use the Gotek drive since it’s much faster.